
How to Charge a Lawn Mower Battery in 3 Easy Steps
To charge your lawn mower battery, first identify it and safely disconnect it from the mower. Check the battery for any signs of corrosion or damage before you begin. This ensures a safe and effective charging process.
Next, connect your charger’s red clamp to the battery’s positive terminal. Then, attach the black clamp to the negative terminal. Make sure your charger matches the battery’s voltage for optimal charging.
Finally, monitor the charging process closely. Watch for full charge indicators on your charger before disconnecting the clamps in the reverse order.
Follow these simple steps, and you’ll keep your mower ready to go. Plus, you’ll uncover more tips to prolong your battery’s life.
Identify and Prepare the Battery
Before you start charging your lawn mower battery, you’ll need to identify its type and location. Check the label or manual to see if you have a 12V lead-acid or lithium-ion battery.
Identify your lawn mower battery type and location before charging to ensure proper handling and safety.
Usually, the battery is found under the seat, hood, or side panel of your mower. Once you locate it, take a close look at the terminals for any corrosion, dirt, or damage—these can mess with the charging process.
It’s a good idea to use a multimeter to check the voltage. A fully charged lead-acid battery should read about 12.6V. And for safety, make sure to disconnect or remove the battery according to your mower’s instructions before you start charging.
Following these steps will help ensure you’re ready to charge your lawn mower battery safely and effectively.
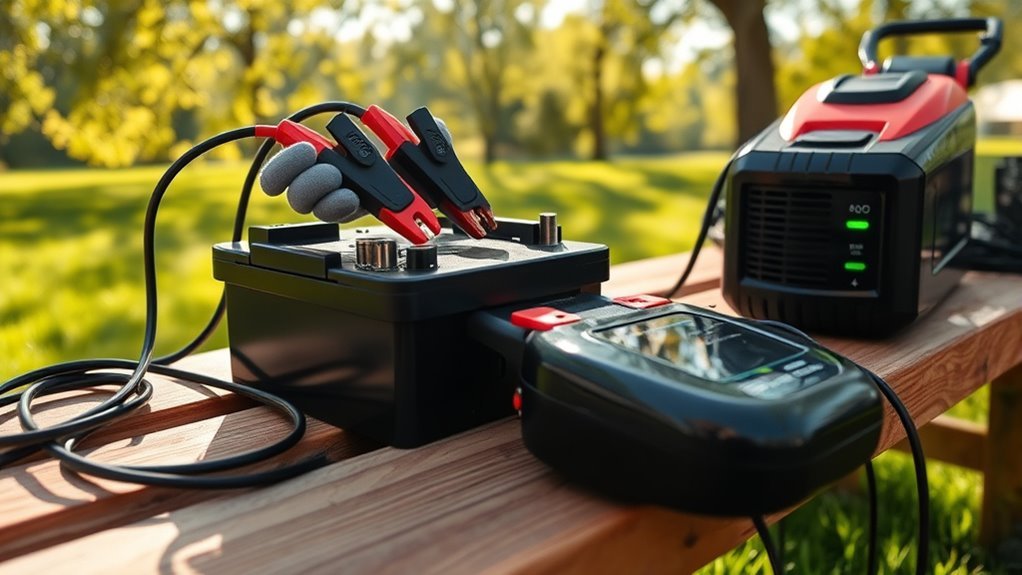
Connect the Charger Correctly
When you connect the charger, always attach the red (positive) clamp to the battery’s positive terminal first, followed by the black (negative) clamp to the negative terminal. This sequence guarantees safety and prevents sparks.
Before you connect the charger, double-check that the charger’s voltage matches the battery’s voltage to avoid damaging the battery. Make sure both clamps are securely attached to the battery terminals; loose clamps can cause incomplete charging or dangerous sparking.
Keep the clamps from touching each other or any metal surfaces to prevent short circuits. After charging, always disconnect the black clamp first and remove the red clamp last to maintain safety.
Following these steps helps you connect the charger correctly and charge your lawn mower battery efficiently and safely. It’s a simple routine that really pays off!
Monitor and Complete the Charging Process
After connecting the charger properly, you’ll want to keep a close eye on the charging process to make certain your lawn mower battery reaches full capacity safely. Continuously monitor the charger’s indicator lights; a green or steady light usually means the battery is fully charged.
Use a multimeter to check the voltage periodically—around 12.6V indicates completion. For safety, watch for signs of overheating or swelling and avoid touching the battery or clamps during charging.
- Keep an eye on indicator lights to track charging status.
- Verify voltage with a multimeter to prevent overcharging.
- Disconnect the charger immediately once fully charged to maintain safety.
Following these steps helps you avoid overcharging and ensures a safe, efficient charging process. Just stay alert and you’ll be good to go!
Conclusion
Now that you know how to charge your lawn mower battery in just three simple steps, you’re ready to keep your mower running smoothly all season. By identifying and preparing the battery, connecting the charger correctly, and monitoring the process, you’ll avoid common pitfalls and extend your battery’s life.
So, why wait until your mower won’t start? Following these easy steps makes charging your lawn mower battery straightforward and hassle-free. With regular maintenance and proper charging, your battery will stay strong, ensuring your mower is always ready when you need it.
Keep your lawn looking sharp and your mower in top shape by charging the battery correctly. It’s a small effort that pays off with a perfectly trimmed lawn all season long!