
Sharpen Mower Blade in 5 Easy Steps
To sharpen your mower blade in five easy steps, start by disconnecting the spark plug to keep things safe. This simple step prevents accidental starts while you work on the blade.
Next, tip your mower carefully and unbolt the blade. Take a moment to clean off any grass clippings and rust that might be stuck on it.
Now it’s time to sharpen the blade. Keep a 30°-45° angle while filing to maintain a balanced edge.
After sharpening, check the blade’s balance by hanging it up. If one side is heavier, file it down a bit until it’s even.
Finally, securely reinstall the blade and reconnect the spark plug. With practice, you’ll get the hang of safe and effective blade maintenance, leading to a smoother, cleaner cut every time.
Disconnect the Spark Plug for Safety
Before you begin sharpening your mower blade, make sure you disconnect the spark plug to prevent the engine from accidentally starting. For safety, always wear safety glasses and locate the spark plug by finding the thick rubber cap covering the ceramic post on the engine.
Always disconnect the spark plug and wear safety glasses before sharpening your mower blade to prevent accidents.
Gently wiggle off this rubber cap to disconnect the spark plug from the ignition system. Disconnecting the spark plug is a vital step in mower blade maintenance because it stops the engine from firing unexpectedly, which could cause serious injury.
Never work on mower blades or any other maintenance without first disconnecting the spark plug. Once you finish sharpening, reconnect the spark plug to guarantee your mower operates safely and correctly.
Prioritizing this safety step helps prevent injury and keeps your mower in good working order. It’s a simple step that makes a big difference!
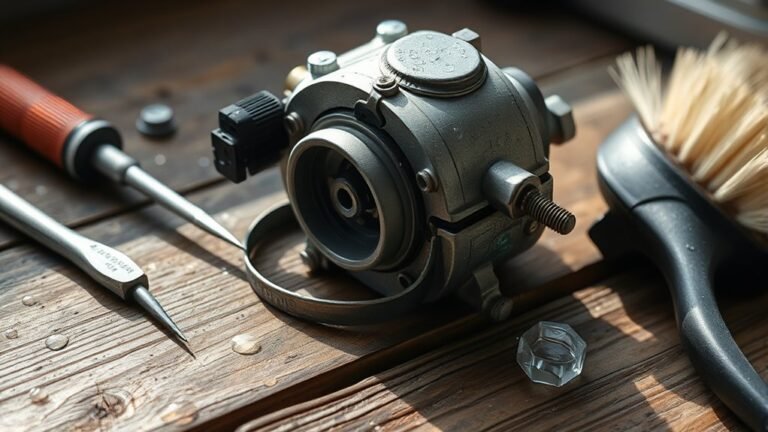
Remove and Clean the Lawn Mower Blade
Once you’ve disconnected the spark plug and tipped the mower on its side, you can safely remove the lawn mower blade by unbolting it with a wrench. Just be sure to mark its orientation first so you can reinstall it correctly.
Next, clean and inspect the blade carefully before you sharpen it. Use a wire brush or rag to remove grass clippings, dirt, and rust buildup. Then, wipe it down with a degreasing cleaner to eliminate grease and stubborn debris.
While cleaning, inspect the blade for any damage like cracks, dents, or excessive wear. If you spot any problems, it’s best to replace the blade to keep things safe and maintain good performance.
To summarize, focus on these steps:
- Remove the blade safely, noting its position
- Clean off rust buildup and grass clippings
- Inspect thoroughly for damage before sharpening
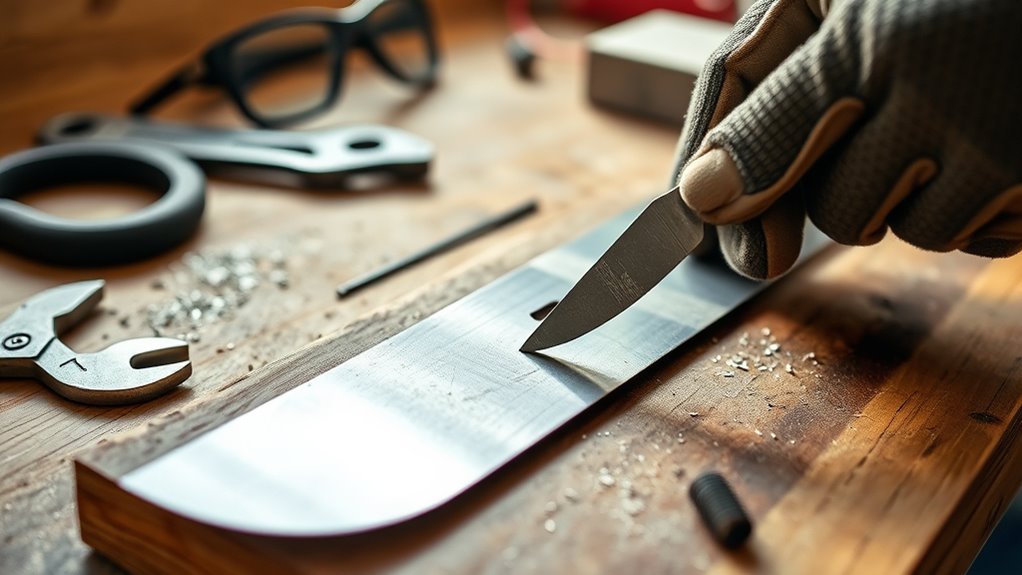
Sharpen the Blade Maintaining the Correct Angle
Although sharpening a mower blade might seem straightforward, maintaining the correct bevel angle—usually between 30 and 45 degrees—is essential for effective cutting.
To sharpen mower blades properly, use a blade sharpening guide or angle finder to match the factory bevel. Keep your sharpening tool at a consistent angle relative to the blade edge, preserving the original bevel for an even cut.
Apply your sharpening technique equally on both sides to maintain a balanced blade and avoid weakening it by altering the angle.
| Aspect | Recommendation |
|---|---|
| Bevel Angle | 30° to 45°, match factory bevel |
| Sharpening Tool | File or grinder with guide |
| Angle Consistency | Maintain consistent angle |
| Blade Edge Care | Sharpen both sides evenly |
| Result | Balanced blade, even cut |
Check and Adjust Blade Balance
To guarantee your mower runs smoothly and safely, you need to check the blade balance after sharpening. Hang the blade on a nail or use a blade hanger to see if it tilts to one side.
If the blade is unbalanced, it will tip toward the heavier side. This causes mower vibrations and uneven cutting.
To fix it, remove metal from the heavier side by grinding or filing until the blade is level.
Here’s how to do it: suspend the blade by its center hole and check the balance. If it tilts, spot the heavier side. Then, carefully remove small amounts of metal from that side to balance it out.
Keeping your blade balanced after sharpening reduces vibrations and helps your mower last longer. It’s a simple step that makes a big difference!
Reinstall the Blade Securely
Before you tighten the blade, make sure it’s properly aligned with the mounting hole and positioned flush against the mower’s surface. Reinsert the bolt in the same orientation you removed it to maintain correct alignment.
Use a ratchet and socket to tighten the bolt securely, applying the torque recommended by your mower’s manufacturer. Ensuring the blade sits flush prevents vibrations and uneven cuts.
After tightening, double-check all fasteners to confirm they’re secure. This step is vital for safe operation and ideal mower performance.
Finally, reattach the spark plug wire or cap securely to restore power. Taking these precautions when you reinstall the blade will keep your mower running smoothly and reduce the risk of accidents.
Conclusion
By following these five simple steps, you’ll keep your mower blade sharp and your lawn looking great. Imagine Sarah, who hadn’t sharpened her blade in months—her grass was uneven and patchy.
After a quick sharpening session, her mower cut smoothly, saving her time and effort. You can achieve the same results by regularly maintaining your blade.
Keeping your mower blade sharp is key to a cleaner, healthier lawn. Regular blade sharpening not only improves mowing efficiency but also promotes even grass growth. So, stick to these easy steps and enjoy a beautifully trimmed yard every time you mow.