
How to Sharpen a Lawn Mower Blade in 7 Easy Steps
Before you start sharpening your lawn mower blade, make sure to disconnect the spark plug and put on your safety gear. This step is crucial for your safety and prevents the mower from accidentally starting while you work on it.
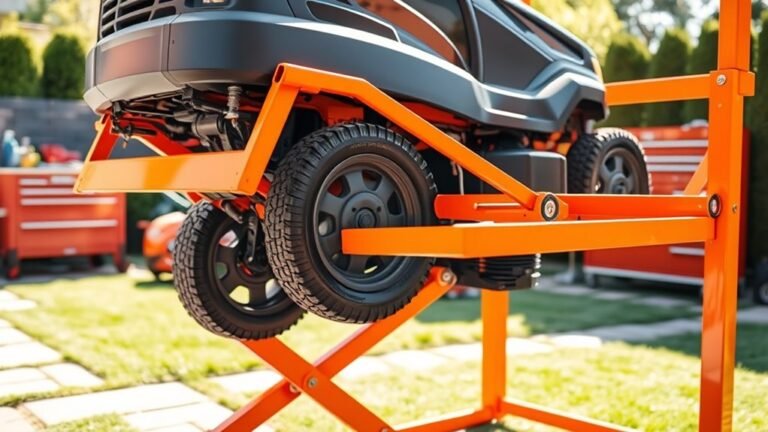
Next, tip the mower to access the blade easily. Use a wrench to remove the blade carefully. Once removed, clean off any dirt and rust to get a clear surface for sharpening.
Now, choose your sharpening tool—a file or a grinder works well. Sharpen both edges evenly, making sure to match the blade’s original angle. This helps maintain the blade’s cutting efficiency.
After sharpening, balance the blade by placing it on a screwdriver shaft. If one side dips, file it down until the blade is perfectly balanced. This prevents vibrations and uneven cuts.
Finally, reinstall the blade securely and tighten the bolts properly. Test your mower to ensure it runs smoothly with the freshly sharpened blade.
Stick around if you want more tips on precise sharpening and blade balance!
Ensure Safety Before Starting
How do you stay safe while sharpening your lawn mower blade? First, always disconnect the spark plug wire to prevent the mower from accidentally starting while you work. This simple step can save you from serious injury.
Next, wear safety gloves to protect your hands from sharp edges and flying metal shards. Don’t forget goggles and ear protection as well.
Before you begin, secure the mower firmly on a flat surface. This prevents slipping or tipping, giving you a stable work area.
You might also want to drain the fuel tank to avoid spills or fire hazards. Taking these precautions guarantees you sharpen your blade safely and effectively, keeping you protected throughout the entire process.
Remove the Lawn Mower Blade
Before you start, disconnect the spark plug wire to prevent any accidental starts. Then, use a wrench to remove the bolt holding the blade, paying attention to how tight it is for when you put it back.
Don’t forget to mark the blade’s orientation so you can reinstall it correctly after sharpening. It’ll save you a lot of hassle later on!
Safety Precautions First
Since safety is essential, always disconnect the spark plug wire before you start removing the lawn mower blade. This helps prevent the engine from accidentally starting. This disconnection is your first and most critical safety step.
Next, tip the mower onto its side with the air filter and carburetor facing up to avoid leaks. Make sure you wear heavy-duty gloves and eye protection to shield yourself from sharp edges and debris.
Use the right tools, like a socket wrench or blade removal key, to loosen the blade’s hex bolt securely. Before you remove the blade, note its orientation so you can reinstall it correctly and keep the balance.
Following these safety precautions guarantees a smooth, accident-free blade removal process every time. It’s really worth taking the time to do it right!
Detach Blade Hardware
After disconnecting the spark plug wire to keep things safe, you’ll want to use a wrench to loosen and remove the bolt holding the blade to the mower’s spindle. Turn the bolt counterclockwise until it’s free, then carefully lift the blade off the spindle.
Be sure to wear gloves to protect your hands from the sharp edges. Set the blade and hardware aside on a clean surface.
Take a moment to inspect and clean the blade and hardware, removing any debris, rust, or buildup that could interfere with sharpening or reassembly. Keeping the bolt and spindle area clean guarantees a secure fit when you put everything back together.
Properly detaching the blade hardware is essential before moving on to sharpening. So, take your time and make sure everything’s done right.
Blade Orientation Marking
How do you make sure the lawn mower blade goes back on the right way? Before you remove the blade, use a permanent marker or paint to mark its bottom side clearly.
This blade orientation marking shows the cutting edge or top side, so you know exactly how to reinstall it. When detaching the blade, take note of its position relative to the mower deck to maintain the correct cutting direction.
This simple step prevents putting the blade on upside down, which can hurt mowing performance. After sharpening, double-check your marking to confirm you’re reinstalling the blade correctly.
Proper blade orientation marking ensures your mower works efficiently and safely every time you use it. It’s a quick trick that saves you from headaches later on!
Clean the Blade Thoroughly
Before you start sharpening, make sure to remove all dirt and grass clippings from the blade using a stiff brush or cloth.
Take a close look for any rust spots that might need extra attention. Cleaning thoroughly helps guarantee a smooth sharpening process and better mower performance.
Remove Dirt and Debris
Since dirt and debris can dull your sharpening tools and affect the blade’s edge, you should start by thoroughly cleaning the blade. Use a stiff wire brush or putty knife to scrub away stuck-on dirt, grass, and debris from the blade’s surface.
Next, rinse the blade with water to remove any remaining soil and organic material, making sure it’s completely clean. After rinsing, dry the blade thoroughly with a cloth to prevent rust from forming.
Take a close look for any leftover mud or clumps that could interfere with sharpening precision. Removing all dirt and debris not only protects your tools but also ensures a smoother, sharper edge when you begin sharpening.
Use Brush or Cloth
Why settle for a partially clean blade when a thorough wipe can make all the difference? Using a stiff brush or a clean cloth, you can remove grass, dirt, and grime that cling to the blade surface.
For stubborn buildup, a wire brush or steel wool helps scrub away caked-on debris. After brushing, wipe the blade with a damp cloth to lift any remaining grime.
Make sure the blade is completely dry before sharpening to prevent rust.
| Tool | Purpose | Tips |
|---|---|---|
| Stiff Brush | Remove loose debris | Use firm strokes |
| Clean Cloth | Wipe off grime | Damp cloth works best |
| Wire Brush | Scrub tough buildup | Apply moderate pressure |
| Steel Wool | Remove corrosion | Use gently to avoid damage |
| Dry Cloth | Dry blade post-cleaning | Prevents rust formation |
Thorough cleaning improves sharpening accuracy and tool longevity.
Inspect for Rust Spots
How do you guarantee your lawn mower blade is free from rust before sharpening? First, carefully inspect the blade for any rust spots that could weaken the metal. Use a wire brush or steel wool to clean off loose rust and debris from the blade surface.
For stubborn rust, apply a rust remover or soak the blade in a vinegar solution for several hours to dissolve it completely. After cleaning, wipe the blade thoroughly with a clean cloth to remove residual rust particles and corrosion.
Make sure to clean all edges and surfaces, as any remaining rust can affect sharpening quality. Finally, dry the blade completely and consider applying a light coat of oil or rust inhibitor to protect it from future rust formation.
Choose Your Sharpening Method
Although you can choose from several sharpening methods, your skill level and available tools will determine the best option for you.
To sharpen your lawn mower blade effectively, consider these three popular grinding techniques:
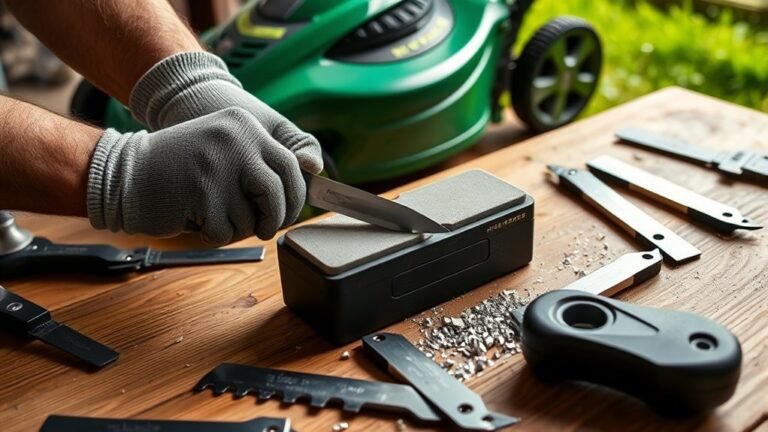
- Hand Sharpening with a File: Match the existing bevel angle and file in one direction. It’s simple and great if you prefer manual control.
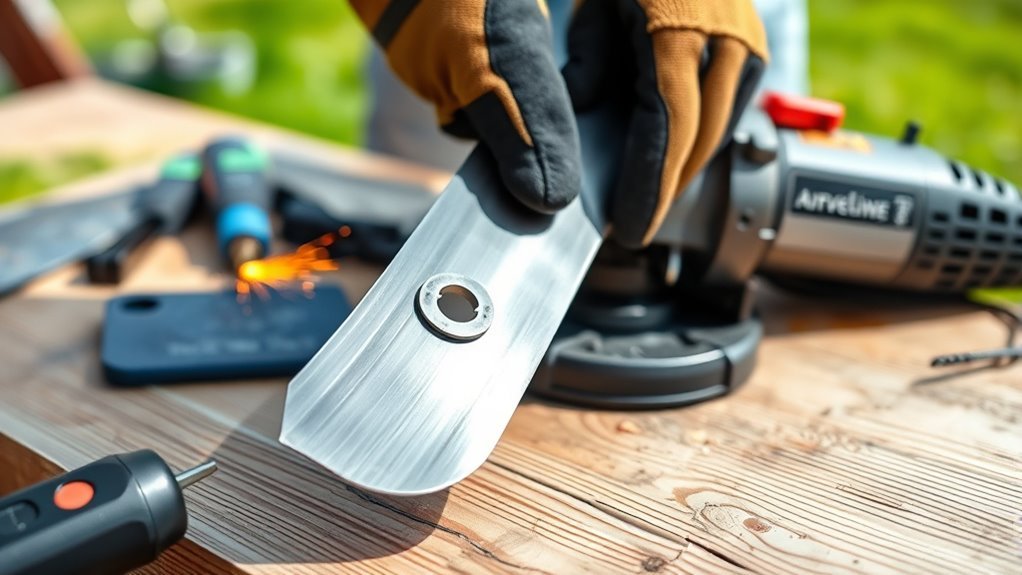
- Grinding Wheel or Bench Grinder: This method offers quick, uniform sharpening. Just ensure you dress the wheel properly and maintain the correct angle.
- Stationary Belt Sander: Grind away from the cutting edge with steady pressure for consistent results.
Remember to disconnect the spark plug and wear protective gear before grinding your blade.
Choosing the right method helps you sharpen efficiently and safely.
Sharpen the Blade Edges Evenly
Once you’ve chosen your sharpening method, focus on sharpening both edges of the blade evenly. Start by marking one side of the blade with a marker to keep track of your progress.
Sharpen each blade edge separately, making sure to remove an equal amount of metal on both sides. This helps maintain a consistent angle and promotes an even cut across your lawn.
Sharpen both edges evenly to keep the angle consistent and ensure a smooth, even lawn cut.
Regularly check your work with a ruler or gauge to verify both blade edges remain symmetrical. After sharpening, visually compare both edges to confirm they look even.
Keeping the blade edges sharpened evenly prevents uneven wear and helps your mower perform at its best. It’s a simple step that really makes a difference!
Check and Adjust Blade Balance
Before reinstalling the blade, you’ll want to check its balance to make certain smooth operation. Proper blade balance is vital to prevent vibration and protect your mower.
Here’s how to do it:
- Place the blade horizontally on a blade balancer or a round shaft screwdriver. Observe if one end dips lower.
- If it does, the blade is unbalanced. Carefully perform metal removal from the heavier side using a file or grinding tool.
- Repeat the process until the blade sits level and steady, ensuring even weight distribution.
Balancing your blade after sharpening not only improves performance but also extends the lifespan of both the blade and mower.
Reinstall the Blade and Test Mower
When you reinstall the blade, make certain the marked side faces downward and aligns correctly on the crankshaft to guarantee proper function and safety. After sharpening, position the blade carefully, then tighten the blade bolt to the manufacturer’s recommended torque, usually between 30-50 ft-lbs, using a torque wrench for accuracy.
Next, reattach the blade bell support and secure it firmly to prevent wobbling during use. Reconnect the spark plug wire, then start the mower to test.
Listen for unusual noises or vibrations that could signal incorrect installation. Watch the blade spin evenly and check that it cuts the grass cleanly without wobbling or excess vibration.
Properly reinstalling and testing your sharpened blade ensures safe, efficient mowing every time.
Conclusion
Sharpening your lawn mower blade might seem tricky, but it’s simpler than you think—and totally worth the effort. A sharp blade cuts grass cleanly, promoting a healthier lawn and saving you time.
If you’re worried about damaging the blade or mower, just follow each step carefully and use the right tools. With a bit of patience, you’ll have a perfectly sharpened blade that improves your mower’s performance and lasts longer.
Keeping your lawn mower blade sharp is key to maintaining a healthy lawn. It not only boosts your mower’s efficiency but also extends the blade’s lifespan. So, take the time to sharpen your blade regularly—your grass will thank you with a cleaner cut and a greener, more vibrant yard.