
How to Clean a Lawn Mower Carburetor in 10 Easy Steps
First, turn off your mower, disconnect the spark plug, and drain the fuel. This is an important safety step to prevent any accidental starts or fuel spills.
Next, remove the air filter and housing to get easy access to the carburetor. Once you can reach it, carefully detach the carburetor by loosening the bolts and cables that hold it in place.
Now, disassemble the carburetor and soak its parts in carburetor cleaner. While they’re soaking, gently scrub the jets and passages to remove any dirt or buildup.
After cleaning, use compressed air to blow out any stubborn blockages. This helps ensure your mower runs smoothly without any fuel flow issues.
Finally, reassemble the carburetor and reinstall it back onto the mower. Reconnect all the components you removed earlier. Start the engine to make sure everything is working perfectly.
Following these simple steps will help you clean your lawn mower carburetor effectively, keeping your mower running like new and prolonging its life.
Safety Precautions Before Starting
Before you start cleaning your lawn mower carburetor, make sure you turn off the mower and let the engine cool for at least 10 minutes. Following safety precautions is essential when cleaning your carburetor to avoid accidents.
First, disconnect the spark plug wire to prevent the engine from starting unexpectedly. Work in a well-ventilated area—open doors or windows and use fans to minimize inhaling fumes from fuel or cleaning chemicals.
Always disconnect the spark plug and ensure good ventilation before cleaning to stay safe and avoid fumes.
Clamp the fuel line with a vice clamp or shut off the fuel valve to stop fuel leaks during disassembly. Finally, wear safety goggles and gloves to protect your eyes and skin from fuel, debris, and harsh cleaners.
Taking these steps guarantees a safe and efficient cleaning process. It’s all about being careful and prepared before you dive in.
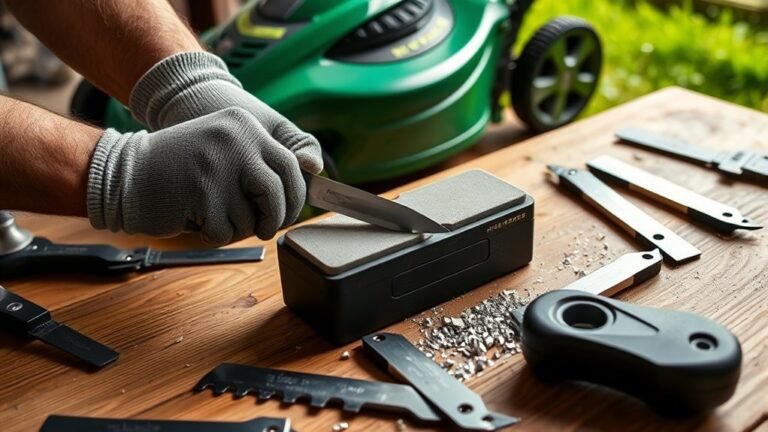
Tools and Materials Needed
Cleaning your lawn mower carburetor requires a few essential tools and materials to do the job right. You’ll need basic tools like screwdrivers and wrenches to remove parts, plus wire brushes and compressed air to clean thoroughly.
Don’t forget safety gear—wear safety goggles and gloves to protect yourself from fuel fumes and chemicals. A quality carburetor cleaner spray, such as CRC Clean-R-Carb™, helps loosen stubborn deposits effectively.
Prepare a clean workspace with a container or rag to catch fuel and small parts during disassembly. Additionally, having replacement gaskets and a small brush or wire for cleaning jets ensures you maintain and reassemble the carburetor properly.
With these tools and materials ready, you’ll be set for a smooth, efficient cleaning process. It really makes the whole job easier and safer!
Preparing the Lawnmower for Cleaning
Before you start cleaning, make sure the engine is completely cool to avoid burns. Always disconnect the spark plug wire to prevent the mower from accidentally starting.
Taking these safety steps helps you work confidently and safely on your carburetor. It might seem like extra work, but it’s definitely worth it!
Safety Precautions First
When you’re ready to clean your lawn mower’s carburetor, make sure the engine is completely cool and turned off to avoid burns. Follow essential safety precautions before starting your carburetor cleaning.
Disconnect the spark plug wire to prevent accidental starting, and drain or disconnect the fuel line to avoid spills and fire hazards. Work outdoors or in a well-ventilated area to minimize inhaling harmful fumes.
Don’t forget to wear safety goggles and gloves to protect your eyes and skin from chemicals and debris. It’s better to be safe than sorry, right?
| Safety Precautions | Purpose |
|---|---|
| Engine off & cool | Prevent burns |
| Disconnect spark plug wire | Avoid accidental starts |
| Wear goggles & gloves | Protect eyes and skin from chemicals |
Engine Cooling Process
Since the engine can stay hot long after use, you should let your lawnmower cool completely for at least 15 to 30 minutes before starting any cleaning. Proper engine cooling prevents burns and guarantees safer handling.
During this time, avoid touching any parts near the engine or fuel system, as residual heat may persist. Make sure you work in a well-ventilated area to minimize inhaling fumes from leftover fuel or cleaning agents.
Also, wear gloves and safety goggles to protect yourself from potential splashes or hot surfaces. Allowing the engine to cool fully is a vital step before you proceed with carburetor maintenance, as it reduces hazards and prepares your mower for safe, effective cleaning.
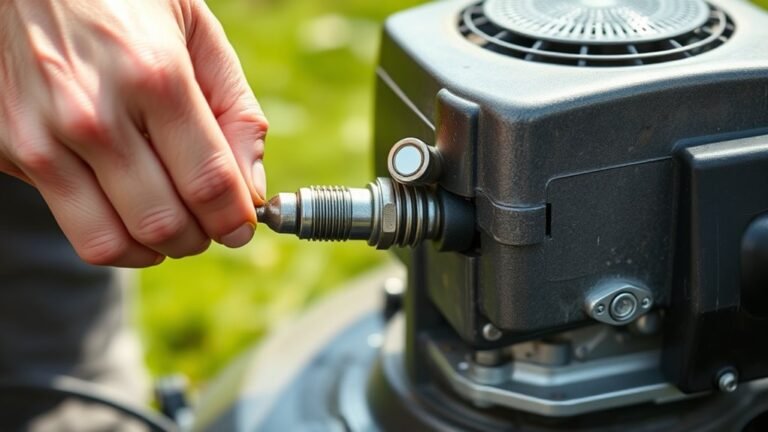
Disconnect Spark Plug
Although it might seem like a small step, disconnecting the spark plug wire is essential to prevent your lawn mower from accidentally starting while you work on it. This safety measure guarantees the engine remains off, protecting you from unexpected injuries.
Here’s how to handle the spark plug before cleaning:
- Use a spark plug socket and wrench to carefully remove the spark plug from the engine.
- Inspect the spark plug for wear, fouling, or damage and replace it if needed.
Make sure the engine is cool before touching the spark plug to avoid burns. And once you’ve removed it, store the spark plug in a clean, safe place to keep dirt away.
Following these steps keeps you safe and ensures your engine stays in good condition during carburetor cleaning. Easy, right? Just a little extra care goes a long way!
Removing the Air Filter and Housing
Before you can access the carburetor housing, you’ll need to remove the air filter by unscrewing its cover with a screwdriver. Once the cover is off, carefully detach the air filter from its mounting. Make sure to pay attention to its position so you can reinstall it correctly later.
Take a close look at the air filter—if it’s clogged with dirt or damaged, clean or replace it before putting it back. Next, disconnect the air filter housing from the carburetor by unscrewing or unclipping it, depending on your mower model.
Be sure to keep track of all screws and clips during this process to avoid losing any parts. This step gives you clear access to the carburetor housing for thorough cleaning. Easy, right?
Detaching the Carburetor From the Lawnmower
Before you detach the carburetor, make sure the air filter and its cover are removed to access the mounting area.
Next, carefully disconnect the throttle cable to avoid damaging it.
Finally, use the right tools to unscrew the bolts holding the carburetor in place.
Air Filter Removal
To detach the carburetor from your lawnmower, start by unscrewing the air filter casing with a screwdriver to access the filter and carburetor housing. Next, carefully remove the air filter, inspecting it for dirt or damage, and set it aside for cleaning or replacement.
Then, proceed to detach the carburetor itself. Remember these key steps:
- Unscrew the air filter casing to expose the carburetor.
- Remove and check the air filter for clogs or damage.
Keep track of screws and gaskets during removal. Handle the carburetor gently to avoid spilling residual fuel.
Throttle Cable Detachment
Once you’ve accessed the carburetor, carefully use needle-nose pliers to detach the throttle cable. Make sure to note its original position for easy reinstallation.
Gently loosen the cable clamp or adjuster to free the throttle cable from the carburetor bowl’s linkage or throttle lever. Avoid pulling on the cable itself, as this can damage the internal wires.
Instead, disconnect it at the connection point to prevent wear. After removal, inspect the throttle cable for any signs of fraying or damage.
If you see anything wrong, go ahead and replace it before you move on. Ensuring the throttle cable is fully disengaged will make removing the carburetor easier and protect both the cable and carburetor bowl during cleaning.
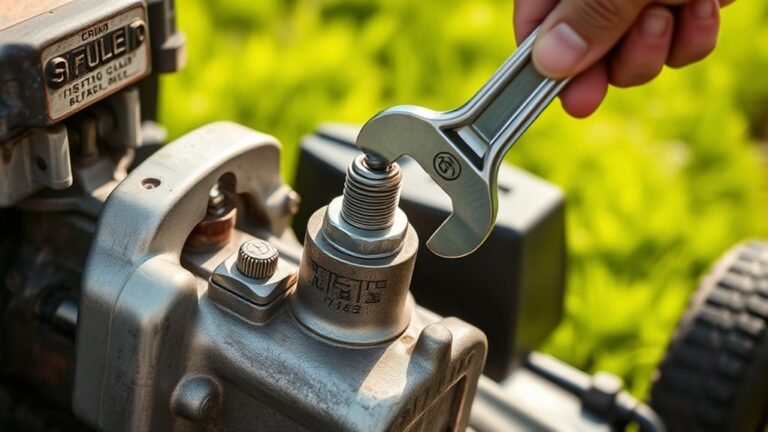
Carburetor Bolt Unscrewing
Although the throttle cable is detached, you’ll still need to unscrew the mounting bolts that secure the carburetor to the engine. Use a screwdriver to carefully remove the carburetor bolt located at the base.
Before fully detaching the carburetor, make sure to disconnect any linked throttle and choke cables to avoid damage. It’s important to be gentle here to keep everything intact.
To clean your carburetor efficiently, keep these tips in mind:
- Note the size and placement of each carburetor bolt for easy reinstallation.
- Store bolts in a safe container or magnetic tray to prevent loss.
Also, inspect bolt holes for debris or corrosion. Cleaning them with a wire brush or compressed air before reattaching is a good idea.
Following these steps will help you safely remove and clean your carburetor without hassle. Just take your time, and you’ll be good to go!
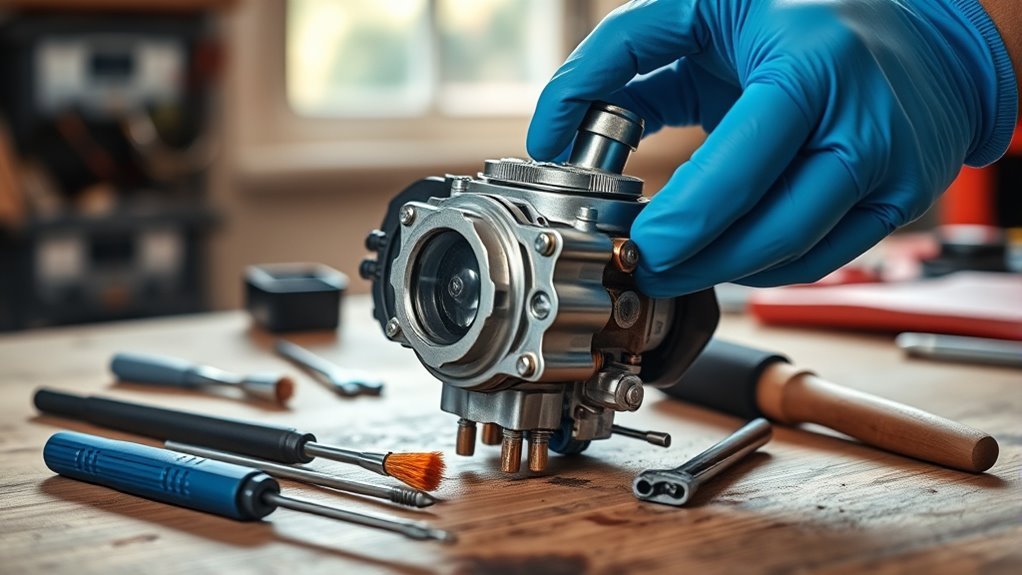
Disassembling the Carburetor Components
Before you start disassembling the carburetor, make sure you carefully remove the air filter and loosen the mounting bolts with the right tool. Once detached, note the position of linkages and hoses to ensure proper reassembly.
Begin the disassembly by unscrewing the carburetor bowl and gently lifting it away, being cautious not to spill any residual fuel. Next, remove small jets, screws, and float components, keeping track of their order and orientation.
As you handle each component, inspect them for dirt, varnish buildup, or damage. This careful disassembly of components sets the stage for thorough cleaning or necessary replacements, so take your time to keep everything organized and intact for the next steps.
Cleaning the Carburetor Parts Thoroughly
After you’ve taken the carburetor apart, soak the jets and metal parts in a cleaner to break down buildup. Use a brush to scrub away any stubborn dirt or deposits.
Finally, clear out all the tiny passages with compressed air to make sure everything flows freely. This step is super important to keep your carburetor working smoothly!
Disassemble Carburetor Components
Since the carburetor bowl holds key components like jets and the float, you’ll need to carefully unscrew and remove it to access these parts.
When you disassemble carburetor components from a dirty carburetor, it’s vital to handle each piece with care to avoid damage. Follow these steps:
- Use a wire brush or carburetor cleaner to remove varnish, dirt, and fuel deposits.
- Inspect gaskets for wear or damage; replace them to guarantee a tight seal.
- Clear clogged jets and passageways with a fine wire or needle.
- Blow compressed air through small crevices to eliminate leftover debris.
Taking these precautions guarantees you thoroughly clean every part and prepare your carburetor for reassembly without issues.
Soak and Scrub Jets
Once you’ve carefully removed and inspected the carburetor jets, you’ll want to soak them in a carburetor cleaner to break down hardened varnish and fuel deposits. To soak jets effectively, submerge them completely for at least 30 minutes.
After soaking, scrub jets gently using a soft toothbrush to remove stubborn debris without causing any damage. Use a fine wire or jet-cleaning tool to clear any blocked orifices.
| Step | Tool Needed | Purpose |
|---|---|---|
| Soak jets | Carburetor cleaner | Dissolve varnish and fuel residue |
| Scrub jets | Soft brush | Remove stubborn deposits |
| Clear jets | Fine wire/tool | Eliminate blockages |
| Rinse jets | Clean water/air | Remove cleaner and debris |
Following this process ensures your jets are thoroughly clean and ready for reassembly. It’s a simple routine that really makes a difference!
Clear Passages With Air
Although soaking and scrubbing loosen most debris, you’ll need compressed air to clear every passage and jet thoroughly. This step guarantees your carburetor components and air filters work smoothly without blockages.
Here’s how to do it safely and effectively:
- Hold the carburetor upside down and spray compressed air into each opening to clean all internal channels.
- Blow gently through fuel and air passages, avoiding high pressure that might damage delicate parts.
- Use carburetor cleaner spray first to loosen stubborn debris before applying air.
- Always wear safety goggles and gloves to protect yourself from debris and spray.
Clearing passages with air prevents clogs that impair performance. This way, your mower keeps running efficiently without a hitch.
Clearing Jets and Passages With Compressed Air
Before reassembling your lawn mower carburetor, you’ll want to use compressed air to clear out all jets and passages. Hold the carburetor securely and spray short bursts of compressed air into each jet and passage.
This helps dislodge dirt, varnish, and debris buildup that can block fuel flow. Make sure the air flows freely through every passage, confirming they’re fully clear.
Be careful not to apply too much pressure, as it might bend or damage the delicate jets or carburetor body. Using controlled bursts protects these components while effectively cleaning them.
Once you’ve cleared all jets and passages, you’ll have a clean carburetor ready for reassembly. This ensures your lawn mower runs smoothly and efficiently.
Reassembling the Carburetor and Reinstalling It
After clearing all jets and passages with compressed air, you can start reassembling the carburetor. Make sure every cleaned part, especially gaskets and jets, is aligned correctly and secured to avoid leaks or malfunctions.
Then, follow these steps to reinstall the carburetor:
- Reattach the carburetor to the engine, tightening bolts evenly to prevent warping.
- Reconnect all linkages, cables, and throttle connections, ensuring smooth movement.
- Reinstall the air filter and cover, seating them properly to block debris.
- Reconnect the fuel line and spark plug wire carefully.
Testing the Lawnmower for Proper Operation
How do you know if your lawnmower’s carburetor is working correctly? Start the lawn mower engine and let it run for a few minutes, listening carefully. If the engine runs smoothly without sputtering or stalling, that’s a good sign.
Pay attention to how the mower accelerates when you increase the throttle; it should respond promptly and without hesitation. Notice if the lawnmower maintains a consistent engine speed without sudden drops or surges during use.
Ensure your mower accelerates smoothly and maintains steady engine speed without unexpected drops or surges.
After testing, inspect the spark plug—clean, light tan deposits indicate the engine runs with an ideal fuel mixture. If you observe rough idling, engine stalls, or poor acceleration, the carburetor may need further adjustment or cleaning.
This testing ensures your lawn mower operates efficiently and reliably. So, taking these steps can save you time and money down the road.
Conclusion
Now that you’ve given your lawn mower’s carburetor a little spa day, it’s ready to hum smoothly and tackle your yard work with renewed energy. By carefully cleaning and reassembling each part, you’ve helped your mower breathe easier and perform at its best.
With a bit of routine pampering like this, your mower will keep running like a champ. Regularly cleaning the carburetor prevents clogs and ensures your engine runs efficiently. This maintenance makes your outdoor chores feel less like a grind and more like a breeze.
Taking the time to clean your lawn mower carburetor not only boosts performance but also extends the life of your equipment. So keep this simple carburetor cleaning routine in your yard care schedule, and enjoy a smoothly running mower season after season!