
How to Change a Lawn Mower Blade in 3 Easy Steps
To change your lawn mower blade in three easy steps, first guarantee safety by turning off the engine, disconnecting the spark plug, and draining fuel. These safety steps are crucial to prevent accidents while working on your mower.
Next, tip the mower on its side. Use a wrench to loosen the blade bolt, then remove and inspect the old blade for damage. This step helps you ensure your mower cuts efficiently.
Finally, align and securely install the new blade following manufacturer instructions. Once done, double-check everything before lawn mowing. Keep going, and you’ll discover how to maintain your mower for the best results.
Preparing Your Mower and Ensuring Safety
Before you begin changing your lawn mower blade, make sure you place the mower on a flat, level surface to keep it stable. Turn off the engine and let it cool completely to avoid burns.
Next, disconnect the spark plug ignition wire to prevent accidental starting while you work. If your mower has a key ignition, remove the key as an extra safety step.
Before tipping the mower on its side, make sure you drain or siphon the fuel tank. This prevents dangerous spills and fire hazards during the blade change.
Drain or siphon the fuel tank before tipping the mower to avoid spills and fire hazards.
Taking these precautions guarantees your mower stays steady and safe, letting you work confidently without risking injury or damage. Proper preparation is the key to a smooth, secure blade replacement process.
Removing and Inspecting the Blade
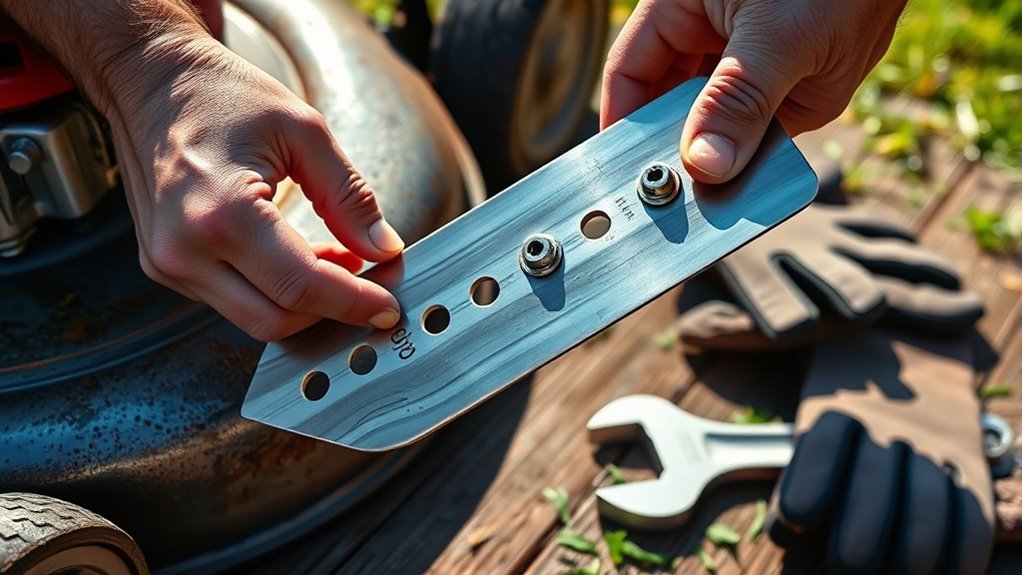
When you’re ready to remove the blade, make sure the spark plug wire is disconnected to prevent any accidental starts. Position your Cub Cadet lawn mower on its side, then use a blade removal tool or a sturdy block of wood to hold the blade firmly in place. This prevents it from spinning as you loosen the retaining bolt with a socket wrench.
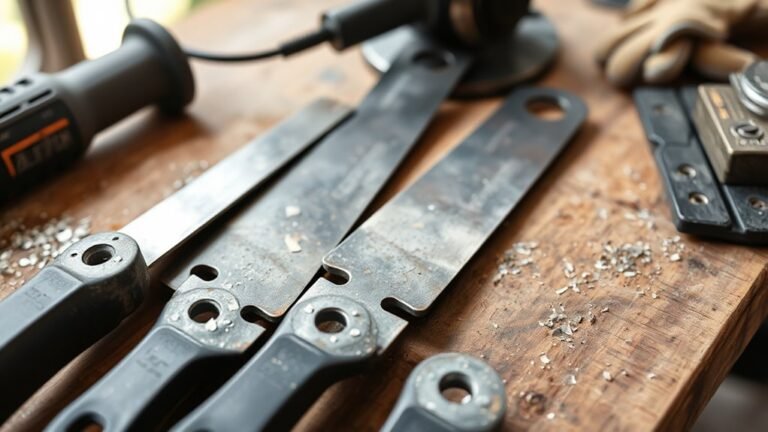
Keep note of the blade’s original orientation to ensure proper reinstallation. Once removed, inspect the blade carefully for cracks, chips, or dull edges. Also, check the mounting hole and spindle for debris or wear, as these can affect fit and safety.
If you spot damage or excessive wear, it’s time to sharpen or replace the blade before continuing. Better safe than sorry, right? Taking these steps helps keep your mower running smoothly and your yard looking great.
Installing and Securing the New Blade
After removing and inspecting the old blade, you’re ready to install the new one. Begin by aligning the new mower blade so the word “bottom” or the part number faces the ground. This assures proper cutting during the mowing season.
Place the blade carefully on the spindle, making sure it’s seated correctly according to the manufacturer’s instructions. Use a socket or wrench to tighten the retaining bolt securely, following the torque specs in your manual.
Before turning the mower upright, double-check that the blade is sharp, correctly aligned, and the bolt is tight to prevent loosening during use. Also, while you’re at it, consider inspecting the air filter to keep your mower running smoothly throughout the season.
Proper installation guarantees efficient and safe mowing every time. So, take your time and do it right!
Conclusion
Changing your lawn mower blade is as simple as turning a key to unlock better performance. By preparing your mower safely, removing the worn blade, and securing the new one firmly, you’re giving your mower a fresh start.
Just like a sharp blade cuts through grass effortlessly, your renewed mower will tackle your lawn with ease. So, take these steps confidently—your lawn deserves a clean, crisp finish every time.
Remember, a well-maintained lawn mower blade not only improves cutting efficiency but also extends the life of your mower. Regularly changing the blade ensures your lawn stays healthy and looks its best. Follow these easy steps, and you’ll enjoy a beautifully manicured lawn all season long!