

How to Remove Battery From Lawn Mower in 5 Easy Steps
To remove your lawn mower’s battery safely, start by making sure the mower is completely off and cool. It’s really important to disconnect the spark plug wire first to avoid any accidental starts. This step keeps you safe while handling the battery.
Next, find the battery compartment. You might need to remove some covers or unscrew a few parts to get to it.
Once you have access, use a wrench to disconnect the negative terminal first—then move on to the positive terminal.
Carefully lift the battery out with both hands. Remember, batteries can be heavy and a bit awkward to handle.
Store it somewhere cool and dry to keep it in good condition. Keep reading for some handy tips on battery care and maintenance!
Prepare Your Lawn Mower for Battery Removal
Before you begin removing your lawn mower’s battery, make sure the mower is completely turned off, the key is out, and the engine has cooled down.
Next, secure the mower by placing it on a flat, stable surface to prevent any tipping or movement. Don’t forget to disconnect the spark plug wire—that’s essential to avoid the mower starting accidentally while you work.
Engage the parking brake and any safety locks to further secure the mower and disable electrical circuits.
Gather gloves and the necessary tools, like a wrench and screwdriver, so you’re ready to open the battery compartment safely. Taking these steps guarantees you can remove the battery without risk or damage, making the entire process smoother and safer.
Locate and Open the Battery Compartment
Once your mower is safely secured and powered down, the next step is to find the battery compartment. Typically, it’s located near the engine, under the seat, or on the side of the mower.
Look for panels, covers, or latches that secure the compartment in place. You may need to remove screws or unclip fasteners to open it. Use a screwdriver or your hands to carefully open these panels, making sure not to damage any parts.
Take your time to handle everything gently, especially if the panels are plastic or fragile. Only proceed once you’ve successfully opened the battery compartment and have clear access to the battery inside.
This careful approach ensures you avoid unnecessary damage before moving on to disconnecting the battery terminals.
Disconnect the Battery Terminals Safely
To disconnect the battery terminals safely, you’ll want to start with the negative (black) terminal. This helps prevent sparks and electrical shorts.
Use an insulated wrench to loosen the bolt on the negative terminal carefully. Once it’s loose, slide the cable off and secure it away from the battery. This step is important because it avoids accidental contact.
Next, you’ll do the same with the positive (red) terminal, but only after the negative one is fully disconnected. Make sure both terminals are completely disconnected and can’t touch the battery while you’re working.
Following these safety steps with a wrench really reduces the risk of electrical hazards. Plus, it protects both you and your mower’s electrical system while you’re removing the battery.
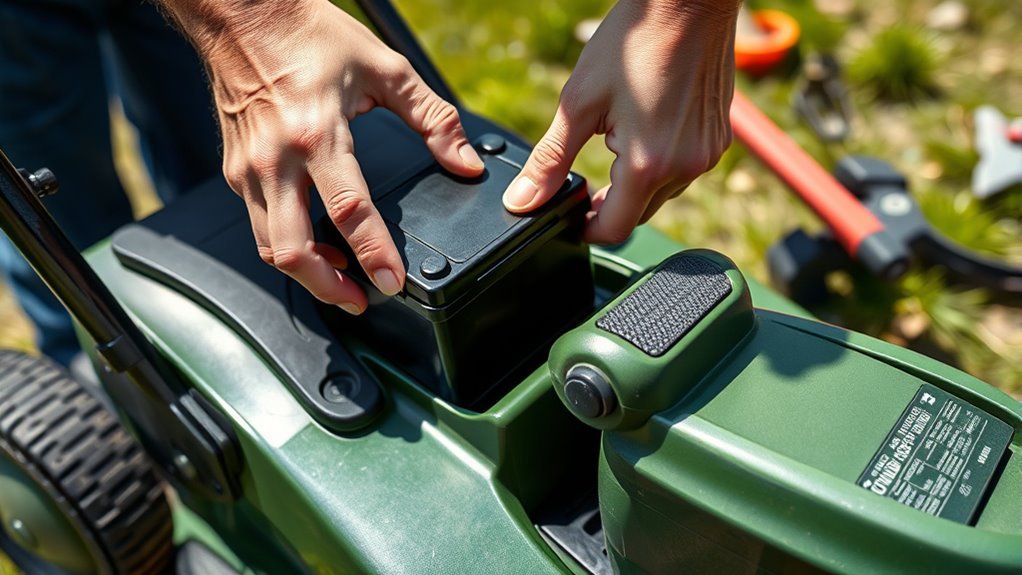
Remove the Battery From the Mower
After disconnecting both battery terminals safely, you can locate the battery compartment—usually found under the seat, hood, or side panel. Make sure the lawn mower is turned off and cool before opening it.
Use the right tools, like a wrench or screwdriver, to remove any securing brackets, straps, or clips holding the old battery in place. Carefully lift the battery straight out of its compartment, supporting its weight with both hands to avoid dropping or damaging it.
Remember to handle the battery gently and place it on a non-metallic surface once removed. By following these steps, you guarantee a smooth and safe removal of the battery terminal and the old battery from your lawn mower without causing harm to yourself or the equipment.
Handle and Store the Battery Properly
Although you’ve removed the battery safely, handling and storing it properly is essential to guarantee its longevity and prevent damage. When you handle the battery, always use both hands to avoid dropping it, which could cause cracks or leaks.
Before you store your battery, disconnect the terminals to prevent accidental short circuits. Find a cool, dry, and well-ventilated place away from direct sunlight and heat sources to store your battery safely. Keep it upright to avoid leaks.
- Always handle the battery carefully with both hands
- Store the battery in a cool, dry area away from heat
- Disconnect the terminals and recharge periodically if stored long-term
Following these steps ensures your battery stays in good condition until you need it again.
Conclusion
Now that you’ve navigated the necessary steps, you can confidently conquer the challenge of removing your lawn mower’s battery. By preparing properly, locating the compartment, disconnecting with care, and handling the battery safely, you’re set for success.
Remember to store it securely to sustain its strength. With these simple, safe steps, you’ll smoothly sail through battery removal and keep your mower maintained for many more mowing missions!
Removing the battery from your lawn mower doesn’t have to be tricky. Just follow these easy instructions, and you’ll be done in no time. This way, you ensure your mower stays in top shape, ready for the next job.
So, whether it’s for maintenance or replacement, knowing how to remove the battery safely is key. Keep these tips handy, and you’ll handle your lawn mower battery removal like a pro every time!