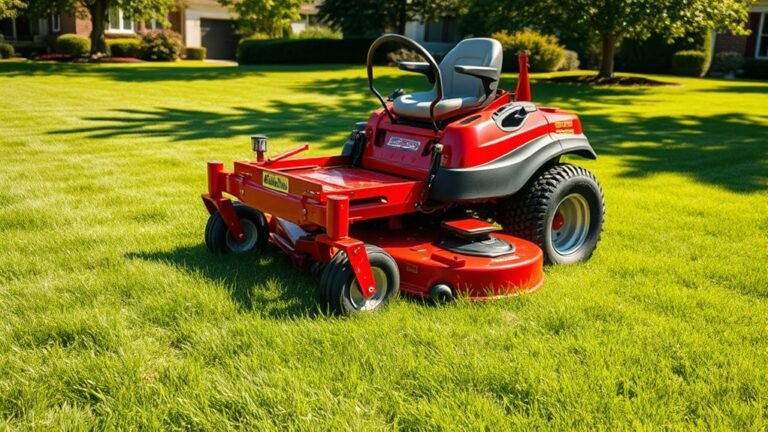

How to Winterize a Lawn Mower in 7 Easy Steps
To winterize your lawn mower in 7 easy steps, start by thoroughly cleaning the mower deck. Make sure to sharpen or inspect the blades so they’re ready for spring. This simple maintenance keeps your mower in top shape and prevents rust and damage during the cold months.
Next, tackle the fuel. You can either remove the fuel completely or add a fuel stabilizer to keep it fresh.
Then, change the oil and replace the oil filter to ensure the engine stays lubricated and runs smoothly when you use it again.
Don’t forget to swap out the air and fuel filters. These parts trap dirt and debris, so fresh filters help your mower breathe better.
Replace the spark plug too, which is key for easy starting after winter.
Lastly, disconnect and safely store the battery to avoid corrosion. Store your mower in a dry, ventilated spot, and cover it with a breathable tarp. This protects the mower from moisture and dust while allowing air circulation.
Keep following for more detailed tips to protect your mower all winter!
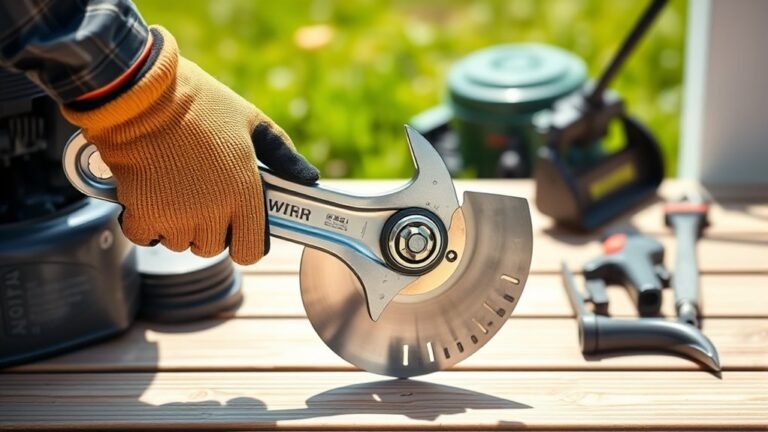
Clean the Mower Deck and Inspect the Blades
Before you store your lawn mower for winter, clean the mower deck thoroughly by removing dirt, grass, and debris with a garden hose or pressure washer. Use a wash port if your mower has one to make cleaning easier.
Scrape off any dried clumps of grass or dirt with a plastic scraper or stick to make certain the deck is spotless.
Next, inspect the blades carefully for dullness, nicks, or damage. Sharpen or replace them as needed to maintain cutting efficiency.
Check the deck’s levelness to guarantee even mowing next season, adjusting if necessary. Also, examine the blades and deck area for any signs of rust or corrosion.
Treat or repaint these areas to prevent long-term damage and keep your lawn mower in top shape.
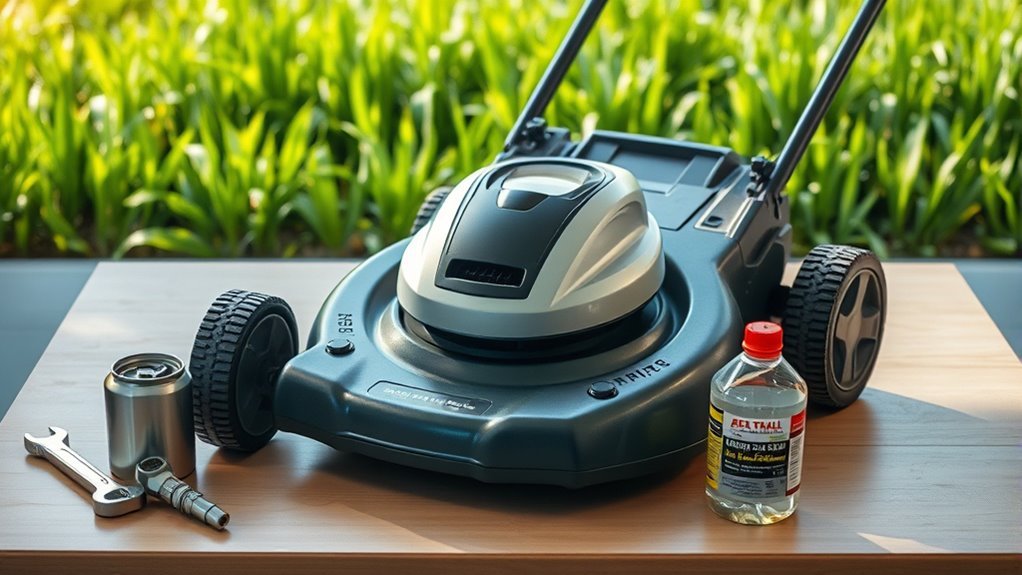
Remove or Stabilize the Fuel
Since gasoline can go stale in as little as 30 days, you’ll want to either remove the fuel from your mower or add a stabilizer to prevent engine problems during storage.
Adding a fuel stabilizer to fresh fuel helps prevent gum and varnish buildup in the carburetor, which can clog the fuel system.
Follow the manufacturer’s instructions to mix stabilizer with fresh fuel in a clean gas can, then top off the gas tank.
Running the mower for 10-15 minutes after adding stabilized fuel ensures the additive circulates throughout the fuel system, preventing water contamination and phase separation.
To winterize your mower’s fuel system:
- Use fresh fuel mixed with stabilizer
- Fill and top off the gas tank
- Run the engine to distribute the stabilizer
Change the Oil and Replace the Oil Filter
When you warm up the engine for a few minutes, the oil thins out and drains more easily, making the change quicker and cleaner. Place a container under the drain plug, then remove the plug to drain the old oil completely.
Once drained, remove the oil filter and replace it with a new one. Before installing the new oil filter, apply a light coat of oil to its gasket to ensure a proper seal.
After draining, replace the oil filter and lightly oil its gasket for a secure seal.
After that, refill the engine with the recommended type and amount of fresh oil. Check the level with the dipstick to avoid overfilling.
Finally, run the engine for a few minutes to circulate the new oil throughout the system. Then shut it off and prepare it for storage.
Replace the Air and Fuel Filters
Now’s the time to check your mower’s air and fuel filters before storing it for winter. Remove the air filter and replace it if it’s dirty or damaged.
Make sure to clean any foam filters thoroughly. Don’t forget to locate and replace the fuel filter to keep your engine running smoothly next season.
Air Filter Maintenance
Although it might seem minor, maintaining your lawn mower’s air and fuel filters plays a crucial role in its performance and longevity. Start by removing the air filter and inspecting it closely for dirt, damage, or wear.
If you have a foam air filter, clean it gently with water and mild detergent, then let it dry completely before reinstalling. For paper or fiber filters, replace them if they’re torn, heavily soiled, or if cleaning doesn’t restore proper airflow.
Using manufacturer-recommended filters ensures the right fit and filtration efficiency.
- Check the air filter at least once a season or more in dusty conditions.
- Clean foam filters carefully without harsh chemicals.
- Replace damaged or clogged filters promptly to maintain airflow and engine health.
Fuel Filter Replacement
A clean fuel filter keeps your lawn mower running smoothly by preventing debris from reaching the engine. To winterize your mower, start the fuel filter replacement by locating it along the fuel line, usually near the carburetor or fuel tank.
Use pliers to pinch the clamps holding the fuel filter and carefully slide it off the fuel line. Then, install the new fuel filter, making sure the arrow points in the direction of fuel flow for proper orientation.
Reattach the clamps securely to avoid leaks and ensure the filter is snug. Finally, check for leaks and confirm the fuel flow before starting the mower.
This simple step protects your mower’s engine and prepares it for storage during the winter months. It’s a quick task that can save you a lot of hassle come spring!
Replace the Spark Plug
Before storing your mower for winter, take a moment to inspect the spark plug for wear or buildup. If it looks damaged or worn, replace it using the proper techniques, like checking the gap and applying a bit of oil to the threads.
This simple step guarantees your mower will start smoothly next season. It’s a quick task that can save you a lot of hassle later on. So, don’t skip it!
Spark Plug Inspection
How do you know when your lawn mower’s spark plug needs attention? To winterize your mower properly, you should inspect the spark plug for signs that indicate it needs to be replaced.
First, make sure the engine is cool before removing the spark plug with a spark plug socket or wrench. Then, carefully inspect the spark plug for corrosion or cracks on the electrode or ceramic insulator.
Also, look out for excessive carbon buildup or oil fouling. Check if the gap size is correct compared to the manufacturer specifications.
If you find any of these issues, replace the spark plug to ensure reliable engine starts next season. Checking and adjusting the gap is essential for efficient combustion.
Before reinstalling, apply a small amount of fresh engine oil to the threads. This prevents seizing and keeps your mower ready for winter storage.
Proper Replacement Techniques
When you replace the spark plug, make sure the engine is cool and use a socket wrench to remove it carefully. Inspect the spark plug for damage, carbon buildup, or corrosion; if it’s worn, replace it to keep your mower running smoothly.
Check the spark plug gap with a feeler gauge and adjust it to the manufacturer’s specs, usually around 0.030 inches. Before reinstalling, lightly coat the threads with high-temperature oil to prevent seizing.
Securely reconnect the spark plug wire and torque the plug to the recommended setting. Proper spark plug replacement is essential when you winterize your mower, alongside changing the fuel filter, oil, and battery maintenance.
These steps ensure your mower stays in top condition during storage and is ready for use next season. Keeping up with maintenance like this really helps your mower last longer and perform better.
Remove and Store the Battery
Since winter storage can cause battery corrosion and damage, you should disconnect and remove the battery from your lawn mower carefully. Start by disconnecting the negative terminal first, then the positive, to prevent sparks or short circuits.
Make sure to use gloves and eye protection while handling the battery to avoid injury. Safety first, right?
Always wear gloves and eye protection when handling batteries—safety comes first!
Once removed, clean the battery terminals with a terminal cleaner or a baking soda and water mixture to get rid of any corrosion. It’s a simple step that really helps.
To protect the terminals from future corrosion, coat them with a terminal protector spray or some petroleum jelly. This little trick keeps things in good shape.
Finally, store the battery in a cool, dry, and well-ventilated area. Keep it charged somewhere between 40-60%, and you’re good to go.
- Disconnect negative terminal before positive
- Clean and protect battery terminals
- Store battery in a cool, dry place with partial charge
Store the Mower in a Dry, Protected Area
After you’ve safely removed and stored the battery, focus on protecting the mower itself. Store it in a dry, enclosed space like a shed or garage to prevent moisture and rust buildup.
Make sure the storage area offers good ventilation to reduce condensation and keep corrosion at bay. Avoid placing the mower directly on damp surfaces; instead, use a stand or platform to keep it off the ground.
Cover your mower with a breathable tarp or cover to shield it from dust, dirt, and humidity without trapping moisture. Also, steer clear of storing it near heat sources such as water heaters or furnaces, as excessive heat can damage essential components.
Taking these steps will effectively protect your mower throughout the winter months. It’s a simple way to keep your mower in great shape and ready for action when spring rolls around!
Conclusion
By following these seven simple steps, you’re giving your lawn mower a cozy winter coat, ready to face the cold months ahead. Just like tucking a car under a warm blanket, winterizing your mower protects its engine and parts from damage.
So, it wakes up fresh and ready in spring. Taking the time to care for your mower now means it’ll reward you with reliable performance when the grass starts growing again. Winterizing a lawn mower is easy, and these steps help ensure your equipment lasts longer.
In short, proper winterization keeps your mower in top shape, saving you money on repairs and replacement parts. Don’t skip this simple maintenance—your lawn mower will thank you with smooth starts and efficient cutting come springtime.