
Which Way Do Mower Blades Go On in 5 Easy Steps
You’ll want to start by gathering tools like a socket wrench and wearing gloves and safety glasses. Disconnecting the spark plug is a must for safety before you begin.
Next, carefully remove the old mower blade, keeping in mind the blade’s original orientation. This step is crucial to ensure you install the new blade correctly.
Then, place the new blade with the sharp edge facing down and the lift side up, matching the mower’s rotation. This helps your mower cut efficiently and safely.
Securely tighten the bolts to the recommended torque.
Finally, test the mower to make sure it operates smoothly without any unusual vibrations.
Keep going to uncover helpful tips for a perfect blade swap that will keep your lawn looking sharp and healthy!
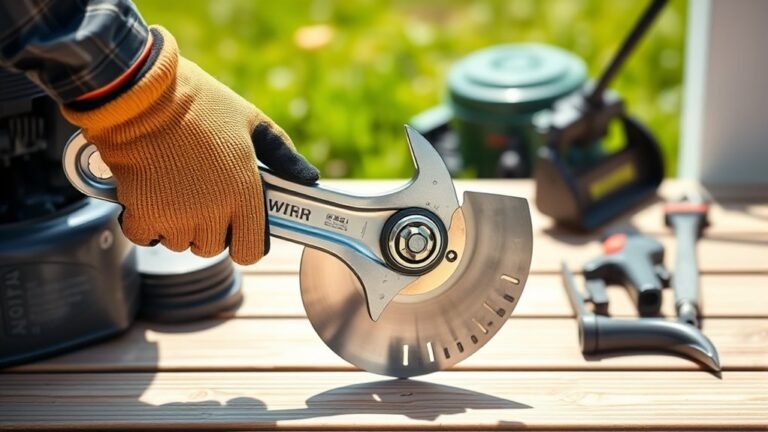
Gather the Necessary Tools and Safety Equipment
Before you begin installing your mower blade, make sure you’ve gathered all the necessary tools and safety equipment. Start with a socket wrench or blade removal tool that fits your mower’s blade bolts perfectly.
Gather the right tools like a socket wrench before installing your mower blade for a safe, efficient job.
For safety, wear heavy-duty gloves and safety glasses to protect against sharp edges and flying debris. Use a sturdy work surface or mower lift to keep the mower stable and prevent accidents.
Have a block of wood or blade lock tool handy to keep the blade from spinning while you work. Most importantly, verify the disconnection of the spark plug wire before you start any blade maintenance.
This step is vital to prevent accidental engine engagement, keeping you safe throughout the process. With the right tools and safety measures, you’re set for a smooth installation.
Safely Remove the Old Mower Blade
How do you safely remove the old mower blade without risking injury or damage? Start by disconnecting the spark plug wire—this key safety precaution prevents accidental starts.
Tilt the mower so the carburetor faces up, avoiding fuel leaks during blade removal. Wear heavy-duty gloves to shield your hands from sharp edges.
Wedge a block of wood between the blade and mower deck to stop the blade from spinning. Use the correct wrench or socket size and turn the bolts counterclockwise to loosen them, always mindful of the blade direction to avoid misalignment when reinstalling.
| Step | Emotion Felt |
|---|---|
| Disconnect spark plug | Confidence |
| Tilt mower | Caution |
| Wear gloves | Safety |
| Wedge wood | Control |
| Loosen bolts | Accomplishment |
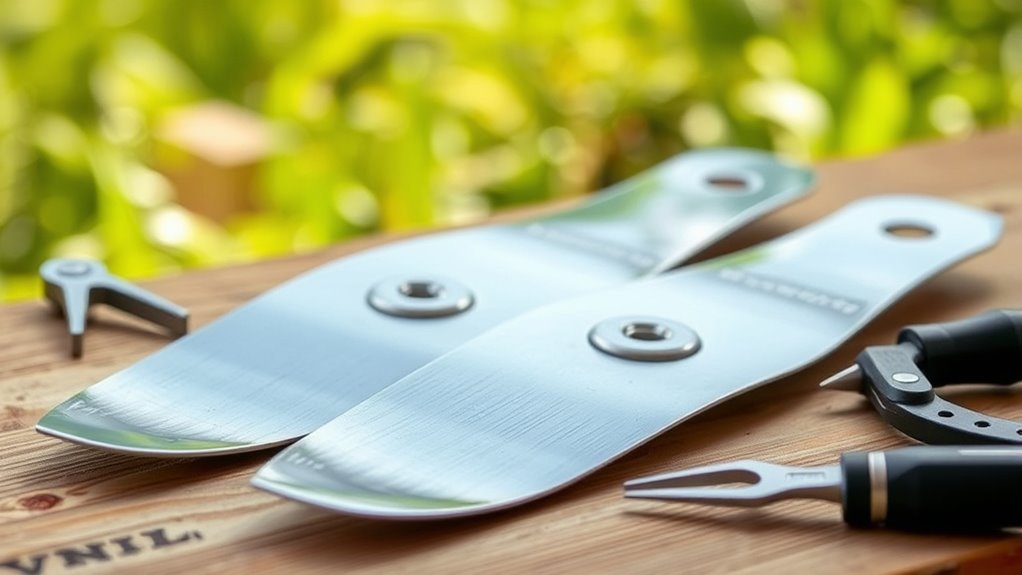
Identify the Correct Blade Orientation
Although installing the blade correctly might seem straightforward, identifying its proper orientation is essential for a clean, efficient cut and safe operation. Start by examining the blade’s sharp edges—they should face downward toward the grass to ensure a precise cut.
The lift side, often with wings or sails, must face upward toward the mower deck to promote airflow and proper grass discharge. Pay close attention to manufacturer markings like “This Side Up” or “Grass Side” to confirm blade orientation.
Also, consider the blade’s rotation direction; if your mower spins clockwise, the bevel should face into the grass. Finally, when mounted, the blade should sit flush and feel balanced, confirming you’ve installed it correctly and safely.
Securely Attach and Tighten the New Blade
When attaching the new blade, make sure to align its center hole perfectly with the spindle and hand-thread the mounting bolt to prevent cross-threading. This initial step ensures the blade seats correctly without damaging threads.
To securely attach and tighten the blade, tighten bolts gradually in a crisscross pattern for even pressure. Use a torque wrench to reach the manufacturer’s specified torque.
Avoid overtightening to prevent warping or spindle damage. Double-check all bolts after tightening to confirm they’re secure.
Following these steps will help you fasten the blade firmly and safely. This prevents it from loosening during operation and ensures your mower performs efficiently.
Test the Mower for Proper Operation
Before you fully rely on your mower, start it up and engage the blades to listen for smooth, steady operation without any unusual noises or vibrations. Watch the blade rotation carefully to confirm the blades spin evenly without wobbling.
Start your mower and check for smooth, steady blade operation without unusual noises or wobbling.
Uneven or loose blades can lead to unsafe operation and poor cutting. Check for signs of proper operation, such as a clean and consistent grass cut and even discharge of clippings.
After confirming smooth blade rotation, turn off the mower and disconnect the spark plug wire to prevent accidental starts. Finally, inspect the blades physically to make sure they’re installed correctly and securely.
This quick test ensures your mower runs safely and efficiently every time you use it. It’s a simple step that can save you from trouble down the line!
Conclusion
Now that you know the five easy steps to install your mower blade correctly, you’re all set to keep your lawn looking sharp.
Did you know a dull or improperly installed blade can reduce cutting efficiency by up to 50%? Taking the time to install your blade the right way not only saves you money but also keeps your mower running smoothly.
So, go ahead—get that blade on right and enjoy a perfectly trimmed yard every time! Installing mower blades properly is key to maintaining a healthy lawn and extending your mower’s life.
Remember, the right blade direction and secure installation make all the difference in cutting performance. Keep these tips in mind, and you’ll have a beautifully maintained lawn with minimal effort!