
How to Clean a Lawn Mower Carburetor in 7 Easy Steps
To clean your lawn mower carburetor in 7 easy steps, first make sure to turn off the mower and disconnect the spark plug for safety. This is super important to avoid any accidental starts while you’re working.
Next, remove the air filter so you can get clear access to the carburetor.
Now, carefully detach the carburetor by loosening the bolts and disconnecting the fuel lines and linkages. Take your time here to avoid damaging anything.
Once it’s off, disassemble the carburetor parts and spray them thoroughly with carb cleaner. This will help remove any dirt, gunk, or debris that’s clogging it up.
After cleaning, reassemble the parts and reinstall the carburetor back onto the mower.
Finally, test your mower to make sure it’s running smoothly again. If you follow these steps closely, your mower will be running like new in no time!
Prepare the Lawnmower for Cleaning
Before you begin cleaning the carburetor, make sure to turn off the lawnmower and disconnect the spark plug wire to prevent accidental starting. This safety step is essential before any maintenance.
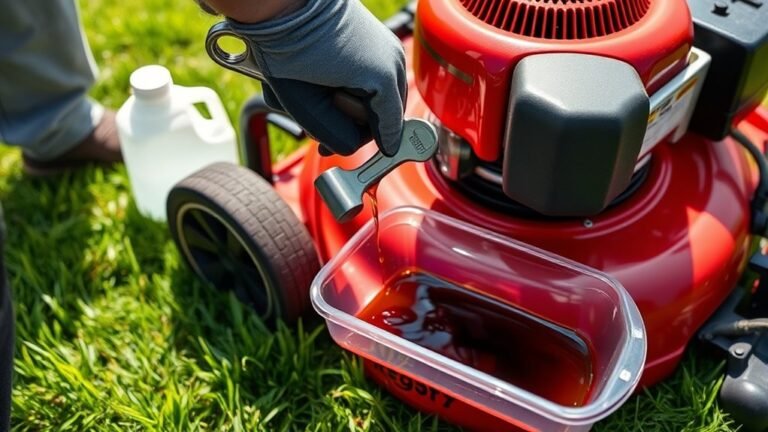
Next, drain the fuel tank completely to avoid spills and fuel leakage during the process. Place your lawn mower on a flat surface in a well-ventilated area, preparing a clean workspace with rags and tools for disassembly.
These preparations help you work efficiently and safely. By taking these straightforward steps, you set the stage for effective cleaning the carburetor, ensuring no fuel hazards or unexpected startups interfere.
Proper preparation is the foundation for a smooth and successful carburetor cleaning process on your lawn mower.
Remove the Air Filter and Access the Carburetor
Once you’ve safely prepared the lawnmower by turning it off, disconnecting the spark plug wire, and draining the fuel, you can move on to accessing the carburetor.
Start by removing the engine cover or air filter housing to reach the carburetor area. Carefully loosen the screws or clips holding the air filter housing in place.
Next, detach the air filter, noting its position for easy reinstallation later. Gently lift the air filter out and set it aside in a clean, protected spot for cleaning or replacement.
With the air filter removed, you’ll have clear access to the carburetor, making it ready for the next steps in cleaning. This process guarantees you don’t damage any components while exposing the carburetor for maintenance.
Detach the Carburetor From the Engine
Although you’ve already accessed the carburetor, you’ll need to detach it carefully to avoid damaging any components. Start by disconnecting the spark plug wire to prevent accidental engine starting.
Then, remove the air filter housing to fully expose the carburetor mounting area. Next, use the proper tools to unscrew the bolts holding the carburetor in place.
Before lifting it off, detach any fuel lines, linkages, and throttle or choke cables. Make sure to note their positions for reassembly so you don’t get mixed up later.
- Disconnect spark plug wire for safety
- Remove air filter housing to access carburetor
- Unscrew bolts and carefully detach fuel lines and linkages
Support the carburetor as you lift it away. You don’t want to stress the fuel lines or cables by pulling too hard.
Disassemble the Carburetor Components
With the carburetor detached and carefully supported, you can start disassembling its components. First, remove the air filter cover and filter to access the carburetor, paying close attention to how everything connects.
Next, unscrew and detach the carburetor from the engine, keeping track of all bolts and gaskets. Now, carefully disassemble the carburetor by removing the float bowl, jets, and needle valve. Be cautious not to damage these delicate parts.
Lay out all components systematically to avoid losing anything and make reassembly easier. Organizing the parts also helps you see what needs cleaning or replacing.
Clean the Carburetor Thoroughly
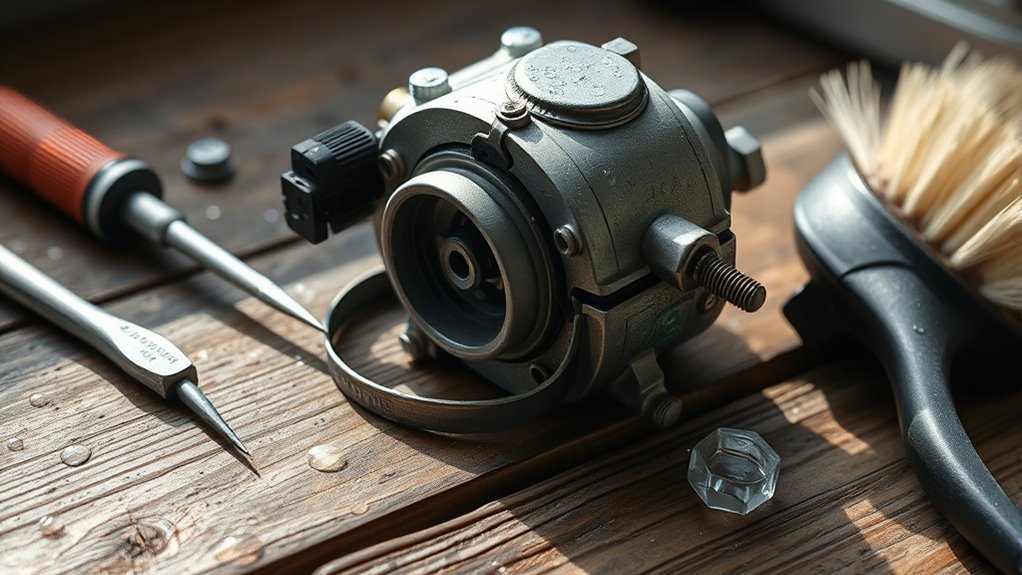
Before reassembling the carburetor, you’ll want to clean every passage, jet, and chamber thoroughly to remove any buildup that could affect performance. Using Carburetor Cleaner, spray inside all parts, focusing on stubborn deposits caused by fuel residue or a dirty air filter.
Clean every carburetor passage and jet thoroughly with Carburetor Cleaner to remove stubborn fuel residue and buildup.
A small brush or wire helps loosen grime, ensuring a deep clean.
Be sure to:
- Spray Carburetor Cleaner into all jets and chambers
- Use compressed air to blow out loosened debris and cleaner residue
- Check for any remaining dirt or blockages that might restrict fuel flow
Thorough cleaning prevents engine issues and keeps your mower running smoothly. Don’t rush this step—it’s essential for maintaining excellent carburetor function.
Reassemble and Reinstall the Carburetor
Once you’ve cleaned every jet and chamber thoroughly, it’s time to reassemble and reinstall the carburetor. Begin by carefully aligning the carburetor with the mounting flange. Then insert and tighten the bolts evenly to prevent leaks.
Next, reattach all linkages, including throttle and choke connections. Make sure they move freely without binding.
Reinstall the air filter housing securely to keep debris out after reassembly. Reconnect the fuel lines, ensuring they’re tight and leak-free before refilling the tank.
Finally, double-check all screws, bolts, and connections. Taking these steps to properly reassemble the carburetor guarantees your lawn mower runs efficiently and reliably once you’re ready to start it again.
Test the Lawnmower for Smooth Operation
After you’ve reassembled and reinstalled the carburetor, start the lawnmower and listen carefully for a smooth idle without stalling or sputtering. This test ensures that the cleaning inside the carburetor has restored proper engine performance.
Pay attention to consistent engine sounds and steady RPMs, confirming the carburetor functions correctly under load. Gradually increase the throttle to check if the mower responds promptly without hesitation.
To confirm smooth operation, focus on:
- Steady idle speed without interruptions
- Responsive throttle acceleration without lag
- Absence of unusual vibrations or irregular engine behavior
If these checks are positive, the carburetor is working well, and your lawnmower’s engine performance is back to excellent.
Conclusion
Now that you’ve cleaned your carburetor, your lawnmower will run smoother than a rocket on turbo boost. Regular maintenance like this isn’t just a chore—it’s the secret to keeping your mower in peak condition for years.
Don’t skip these steps; a clean carburetor means fewer headaches and more mowing power. With just a little effort, you’ll extend your mower’s life and enjoy a flawless cut every time you hit the grass.
Cleaning a lawn mower carburetor is key to preventing clogs and ensuring fuel flows properly. When you take the time to keep it clean, your mower runs efficiently and lasts longer.
So, stick to these simple steps for carburetor cleaning and watch your lawnmower perform at its best season after season.