
How to Sharpen a Reel Mower in 3 Easy Steps
To sharpen your reel mower in three easy steps, start by adjusting the blades. Make sure they’re close to the bedknife but not touching. This helps the blades rotate smoothly without any friction.
Next, apply a grinding compound evenly on the blades. Then, slowly push the mower backward to sharpen the edges. Keep going until the blades look smooth and shiny.
Finally, reassemble all the parts securely. Test the mower on grass or paper to check for a clean cut.
Want to get the most out of your reel mower? Keep reading for tips on perfect blade alignment and proper maintenance to keep your mower working like new.
Prepare and Adjust the Blades
How do you guarantee your reel mower cuts smoothly and efficiently? Start with proper reel mower sharpening preparation by focusing on blade adjustment.
You need to position the bedknife using two screws, ensuring it makes firm blade contact with the reel blades. Adjust the screws carefully so the blades are hard to turn by hand but still allow smooth blade rotation. This balance signals proper positioning and ideal bedknife alignment.
Check that the reel blades sit close to, but don’t touch, the bedknife or metal bar to maximize cutting performance. Use a straightedge or visual inspection to confirm the reel blades are evenly aligned along the reel’s length.
After you sharpen the blades, always recheck and adjust screws as needed to maintain precise blade contact and effective cutting.
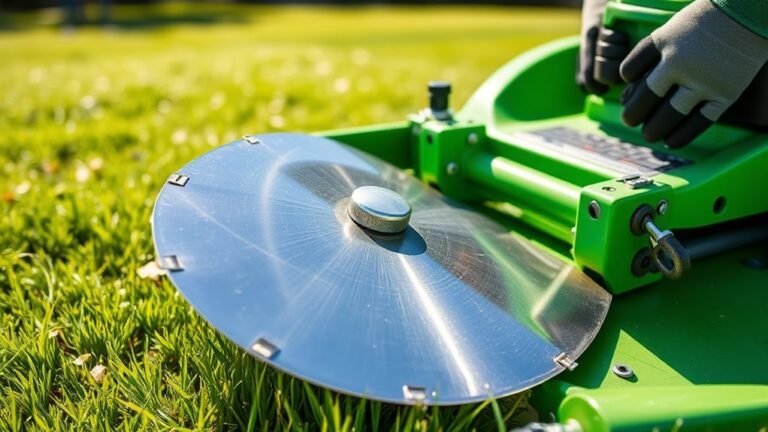
Apply Grinding Compound and Sharpen
Once you’ve properly adjusted the blades, apply a small amount of Permatex Valve Grinding Compound along the edges of the reel blades to create an abrasive surface that sharpens as you work. Use a brush or cloth to spread the grinding compound evenly, ensuring all cutting edges benefit from the self-sharpening effect.
Next, push the mower backward slowly, causing the reel blades to rotate against the compound. This rotation sharpens the blades evenly along each edge. Keep going until the blades look shiny and smooth.
| Step | Action | Result |
|---|---|---|
| Apply compound | Spread on edges | Self-sharpening surface |
| Push backward | Rotate blades | Even sharpening |
| Inspect blades | Check shine | Proper cutting edges |
| Clean blades | Wash off residue | Smooth blade movement |
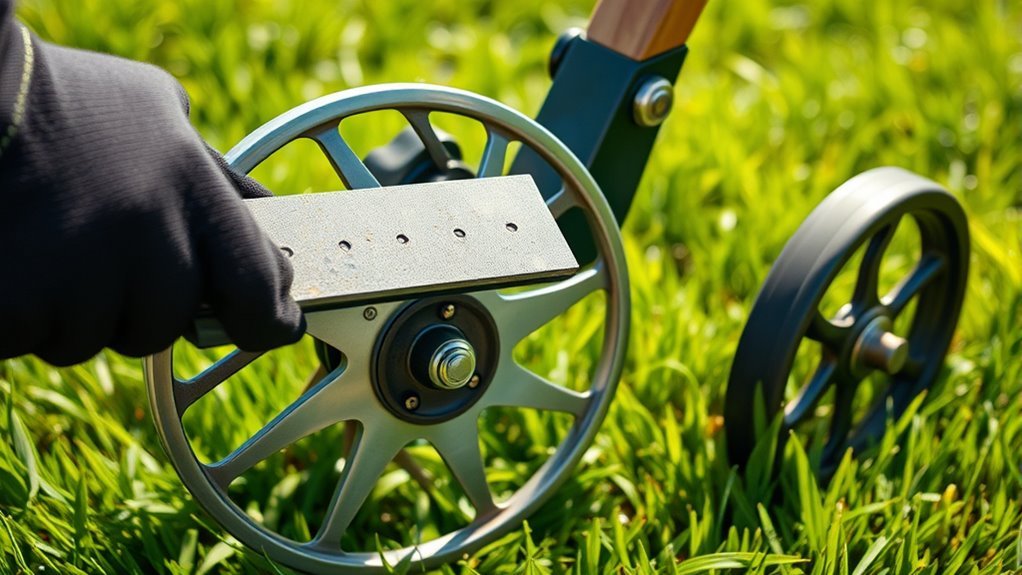
Reassemble and Test the Mower
After confirming the blades are sharpened evenly and aligned correctly, you’ll reinstall the gears and wheels. Make sure each part goes back on the right side to keep the mower moving forward properly.
Next, reassemble any components you removed, like the U-ring and plastic covers. Double-check that they’re securely fastened before moving on.
Reinstall removed parts like the U-ring and plastic covers, ensuring everything is securely fastened before continuing.
Before testing, take a moment to ensure the blades remain properly aligned. Then, try your mower out on paper or grass to see if it cuts smoothly.
If you notice the cutting is uneven, just adjust the blade position as needed. After testing, do a quick visual inspection to make sure all parts are tight and the mower runs smoothly.
Listen for any unusual noise or resistance during operation. Taking these steps helps your reel mower work efficiently and last longer.
Conclusion
Now that you’ve sharpened your reel mower in just three simple steps, get ready to feel like a lawn care superhero! Your grass will practically beg for a trim, and neighbors might just line up for your secret weapon.
With blades this sharp, mowing becomes less chore, more thrill. So grab that mower, give it a spin, and watch your yard transform into the envy of the block—no cape required!
Sharpening your reel mower blades not only makes cutting easier but also promotes a healthier lawn. A sharp reel mower ensures a clean cut, reducing damage to your grass and helping it grow stronger.
So keep those blades honed and enjoy the benefits of a beautifully maintained lawn. Your reel mower is now ready to deliver smooth, efficient cutting every time!