
How to Sharpen Push Mower Blades in 10 Easy Steps
First, disconnect the spark plug to avoid accidents. This is a crucial safety step before you start sharpening your push mower blades. Lift your mower securely on a flat surface to keep it stable while you work.
Use a wrench to remove the blade, making sure to note its orientation. This helps when you put it back later. Clean off any dirt and rust thoroughly — a clean blade sharpens better and lasts longer.
Next, apply sharpening compound or prepare your file. Sharpen both edges evenly, maintaining the bevel angle to keep the blade effective. Don’t rush this part; take your time for the best results.
After sharpening, balance the blade to prevent vibrations during use. Reattach it tightly with the beveled side down to ensure proper cutting.
Finally, reconnect the spark plug and test your mower for smooth cutting. Keep going to guarantee perfect blade care and enjoy a cleaner, more efficient mowing experience!
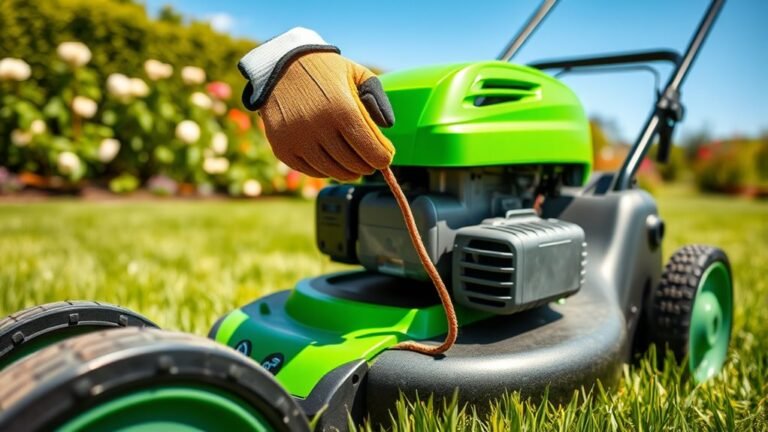
Ensure Safety by Disconnecting the Spark Plug
Before you begin sharpening your push mower blades, make sure you disconnect the spark plug wire to prevent the engine from accidentally starting. This step is essential for your safety since the mower blades can cause serious injury if the engine starts unexpectedly.
Use a spark plug socket or wrench to carefully remove the spark plug from the engine. Once the spark plug is disconnected, wait several minutes to allow any residual electrical charge to dissipate.
Double-check that the spark plug wire is clear of the spark plug terminal before you start working. Keeping the spark plug disconnected ensures the mower cannot start while you’re sharpening the blades, giving you peace of mind and a safer working environment.
Don’t skip this important safety measure. It’s a simple step that makes a big difference.
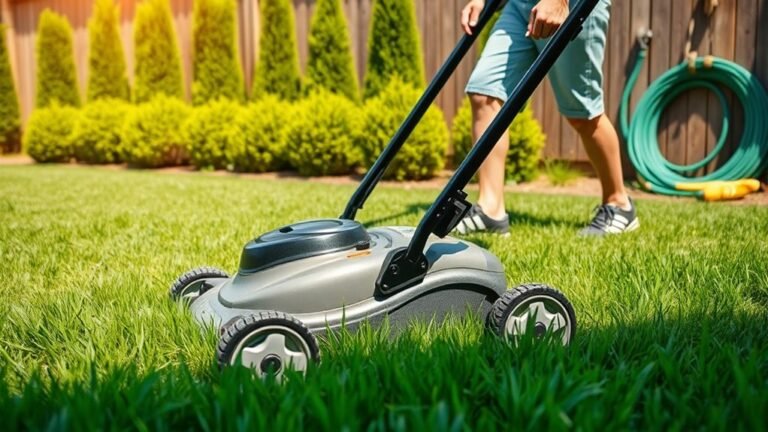
Lift and Securely Support the Mower
Once you’ve disconnected the spark plug wire, lift the mower carefully and place it on a sturdy work surface or sawhorses. Make sure the surface is flat and level to provide maximum stability during your work.
To properly support the mower, use jack stands or heavy-duty blocks positioned securely under the frame or deck. This support prevents any movement or tipping while you’re sharpening the blades.
Use jack stands or sturdy blocks under the frame to keep the mower stable while sharpening blades.
Before you start, double-check the mower’s stability by gently shaking it—if it shifts or wobbles, reposition the supports until it’s rock solid. Taking these precautions ensures your safety and lets you work confidently without worrying about the mower falling or shifting unexpectedly during maintenance.
Proper support and stability are key for a smooth sharpening process.
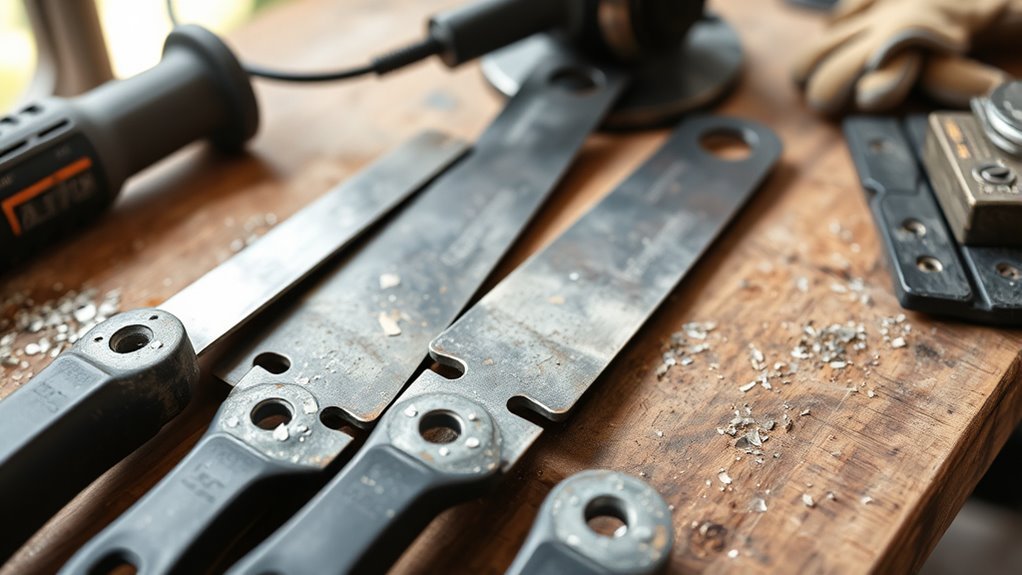
Remove the Blade Using a Wrench
With the mower securely supported, you can now focus on removing the blade safely. Grab a socket wrench or an appropriately sized wrench to get started.
Follow these steps to remove the blade efficiently:
- Hold the blade firmly with one hand to keep it steady.
- Use the wrench to turn the bolt counterclockwise, applying steady force to avoid slipping.
Make sure you take note of the blade’s orientation for proper reinstallation later. Once the bolt is loose, carefully lift the blade away by the center hole or edges.
Using the wrench correctly guarantees you remove the blade without damage or injury. Now, you’re ready for the next step in sharpening your push mower blade.
Clean the Blade Thoroughly
Although it may seem like a simple step, cleaning the blade thoroughly is essential for effective sharpening and long-lasting performance.
Before sharpening your lawn mower blades, remove dirt, grass, and rust carefully. Use a wire brush or steel wool for scrubbing, and apply rust remover if needed.
If there’s stubborn grime, soak the blades in soapy water, then wipe them down with a damp cloth.
| Cleaning Step | Tool/Material |
|---|---|
| Remove dirt/grime | Wire brush or steel wool |
| Eliminate rust | Rust remover or spray |
| Final wipe | Damp cloth and towel |
Make sure to dry the blades completely to prevent rust before sharpening. This way, your blades stay sharp and your mower runs smoothly.
Apply Sharpening Compound or Prepare Your File
Before you start sharpening, choose the right sharpening compound and apply it evenly along the blade’s edge.
If you’re using a manual file, pick one with the proper grit and coat its surface with the compound for better results. This prep guarantees your sharpening goes smoothly and your blades get as sharp as possible.
Choose Sharpening Compound
A good sharpening compound makes all the difference when you’re preparing to sharpen your push mower blades. Choosing the right sharpening compound guarantees your blade sharpening is effective and lasts longer.
Here’s what to consider: Use a valve grinding compound like Permatex, which costs around $4 and lasts for 8–10 sharpenings. Make sure the compound is fresh and free of debris for optimal results.
Apply a thin, even layer to all cutting edges before sharpening. If you’re using a metal file, the compound creates a self-sharpening abrasive surface for better edge sharpness.
Selecting the proper sharpening compound not only improves the blade’s cutting ability but also extends the life of each sharpening session. This way, your mower performs like new every time you use it.
Apply Compound Evenly
When you apply the sharpening compound, make sure to spread a thin, even layer along the entire cutting edge of each mower blade. Use valve grinding compound from your sharpening kit, applying it with a brush or cloth to coat both the top and bottom edges thoroughly.
This guarantees consistent abrasive contact, promoting uniform wear and sharpness. As you work, reapply the compound periodically to maintain an effective abrasive surface.
If you’re preparing to use a file, remember to keep even pressure across the blade edge to maintain the correct angle. Properly applying the compound sets the foundation for efficient sharpening, so take your time to cover every part of the blade evenly before moving on with your sharpening process.
Select Proper File
Applying the sharpening compound evenly gives you a solid start, but selecting the proper file will make a big difference in how effectively you sharpen your mower blades.
For the best sharpening results, choose a high-quality file designed to remove metal efficiently at high speed. Here’s how to pick the right one:
- Use a Norton Utility File or a flat bastard file for durability and precision.
- Opt for a file with fine-to-medium grit to maintain the blade’s original beveled angle.
- Make sure the file’s teeth are clean and free of debris for smooth, even filing.
- Always secure the blade firmly to prevent slipping and ensure consistent sharpening.
With the proper file, you’ll get sharper edges faster and maintain your mower’s cutting performance. It really makes the whole process smoother and more effective.
Sharpen the Blade Maintaining the Original Angle
Since maintaining the original bevel angle is essential, you should carefully observe the blade’s existing edge before sharpening. Sharp blades work best when you preserve that angle, ensuring efficient cutting and longer blade life.
Use a sharpening guide or angle finder to replicate the exact bevel during filing or grinding. When manually sharpening, keep your file or grinder steady at this angle, avoiding any deviation.
Changing the blade’s original angle can reduce cutting quality and cause uneven wear, so stay precise. Regularly check your progress with a protractor or angle gauge to confirm you’re maintaining the original angle throughout.
Repeat Sharpening on Both Sides
Although it may seem tedious, sharpening both sides of your push mower blade is essential for achieving a balanced, clean cut. When you sharpen the blades on your reel mower, you ensure even performance and a healthier lawn.
Sharpening both sides of your mower blade ensures a balanced cut and promotes a healthier lawn.
Here’s how to repeat sharpening on both sides effectively:
- Apply sharpening compound to one side to boost grinding. Use a file or sharpening tool, keeping the original bevel angle.
- Flip the blade carefully and repeat the process on the other side.
- Check the blade’s symmetry to confirm both sides are equally sharp.
Balance the Blade for Even Weight Distribution
After sharpening both sides of your push mower blade, you’ll want to make sure it’s properly balanced. To balance the blade, place it on a blade balancer or a simple nail through the central hole.
If the blade tilts to one side, it means the weight is unevenly distributed. This imbalance can cause vibrations, uneven cuts, and wear on your mower’s motor.
Remove any heavy burrs or uneven edges left from when you sharpen my mower blade, then check the balance again. Keep adjusting and removing material carefully until the blade stays level.
Properly balanced blades improve performance and extend the mower’s life, so don’t skip this step before reinstalling your blade.
Reattach and Secure the Blade Properly
To guarantee your mower cuts evenly and operates safely, you need to reattach the blade with the beveled side facing down, aligning it properly with the mower deck. This is vital after blade sharpening on your Reel Mower.
Follow these steps to secure the blade correctly:
- Place the blade so the beveled edge faces the ground, per manufacturer specs.
- Align the blade holes with the mower deck precisely to avoid uneven cuts.
- Use a torque wrench to tighten mounting bolts to the recommended torque, preventing wobble.
- Double-check the blade spins freely without rubbing or wobbling before use.
Proper reattachment ensures your Reel Mower performs efficiently and safely after blade sharpening. So, take your time and make sure everything’s tightened up right!
Reconnect the Spark Plug and Test the Mower
Once you’ve securely reattached the blade, reconnect the spark plug by threading it back into its socket and tightening it with a wrench to guarantee a solid connection. Make sure the spark plug wire is firmly attached to the plug terminal to establish a good electrical connection.
Before you test the mower, clear all tools and debris from around it to prevent any hazards. Now, pull the starter cord or turn the ignition key to start the mower. Listen for a smooth, consistent engine run, which indicates everything is working well.
As you test the mower, watch its cutting performance and listen for any unusual noises. This will help confirm that the blades are functioning correctly after sharpening.
Conclusion
Now that you’ve sharpened your push mower blades, you’re set for a smoother, cleaner cut every time. Remember, “a stitch in time saves nine”—regular maintenance prevents bigger problems down the road.
Keep your mower blades sharp to extend their life and improve lawn health. With these easy steps, you’ll save time and effort while keeping your yard looking its best.
Stay safe, stay sharp, and enjoy your freshly cut grass! Regularly sharpening your push mower blades not only enhances mower performance but also promotes a healthier, more vibrant lawn. So, make blade maintenance a part of your routine to get the most out of your mower and keep your outdoor space pristine.